The following instructions will allow you to edit the sub banner images on the sub pages of your website.
*If you do not have sub banner images displaying on your websites sub pages then this will not apply to your chosen theme.
Please follow the instructions thoroughly and avoid skipping any steps.
We recommend the following changes be applied on a Desktop computer using a large screen. The page is not suited for editing on a mobile device.
Log in
- Access the login page by entering /login to the end of your domain name in a browser address bar.
- Enter the username and password
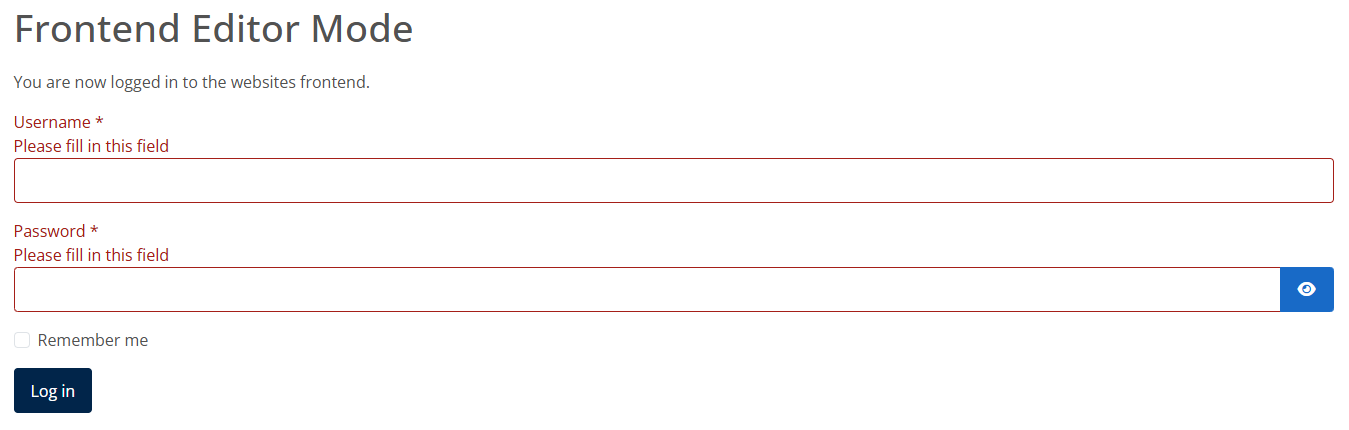
You should now be logged in to the website.
Edit Sub banner image
If your website has a sub banner image at the top of the sub pages, usually under the top header, you can change the image by following;
- Navigate to any page where a sub banner image is displayed i.e. 'Services' or 'About Us'.
- Hover over the sub banner image ‘container’ and an additional ‘Edit’ button will appear to the right corner which you should click in to edit:

- You will be presented with the following and you should click in to 'Options' where you will be presented with the fields as illustrated below:
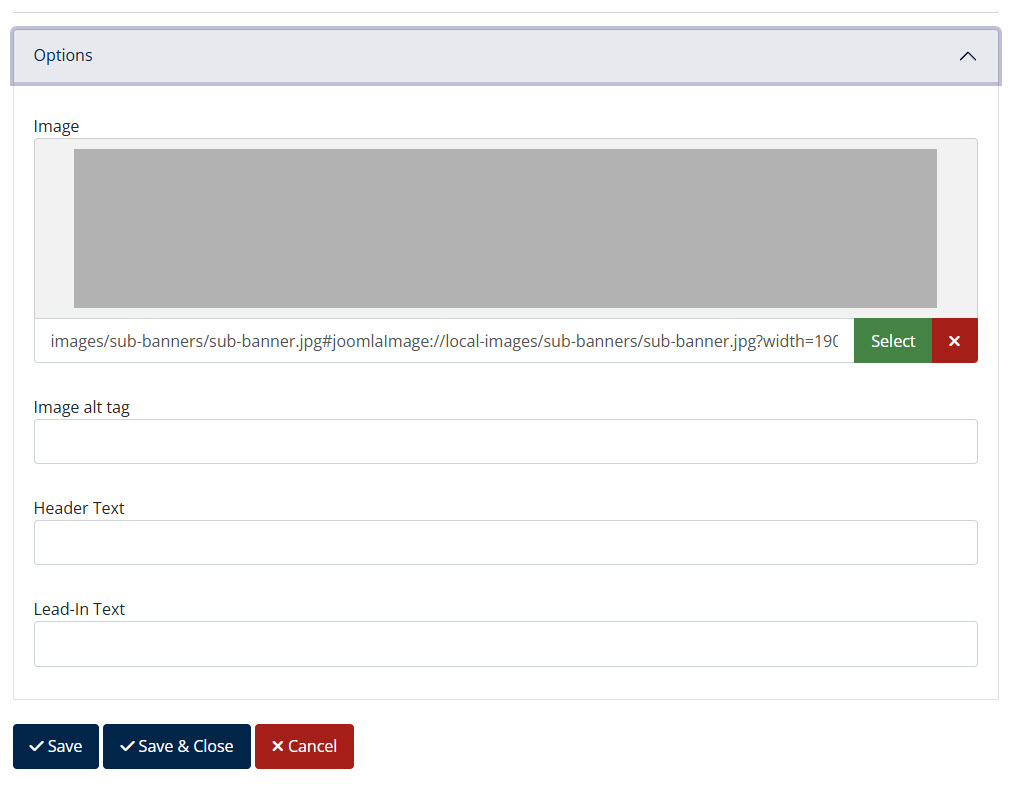
*The only items you should amend within the module are highlighted above. Amending anything outside of this could cause problems with how it displays on the frontend of the website, therefore please avoid.
- It will show the currently loaded sub banner image.
- Most of our templates do not incorporate any text within the sub banner and if none is showing then it is not intended to include any.
- However you may wish to enter an 'Image Alt Text' for the purpose of SEO.
Preparing Sub Banner Images
Do not upload images in their original size, as taken from your camera or stock image website. They will likely be far too big and will cause the page to load slowly if they are not cropped and compressed first, which will compromise SEO.
- Crop your image using an editing application like Microsoft Paint or similar. We recommend cropping the photo to approx. 1900x350 pixels in a .jpg format. Your website designer will be able to confirm the exact sizing in relation to your chosen theme.
- Compress the image after you have cropped it. The following website will allow you to do this fairly easily for free- https://compressor.io, or you may choose another of your choice.
- The image is now ready to upload to the website by clicking on the 'Select' button above, to locate the newly saved file on your local device, selecting, and clicking 'Insert'.
Close the module editor
It is important to follow these steps to avoid locking yourself out of future module edits.
- When you are finished editing the module, click the 'Cancel' or 'Save' button to exit the editor. This makes sure the article is 'checked-in' to the Content Management System.
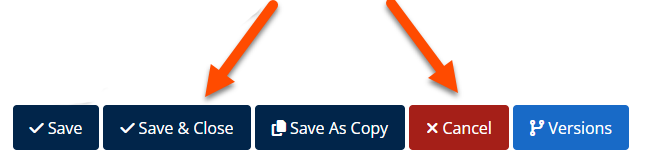
*Failure to do this will lock the page from future edits and will require our input to unlock the page via the backend.
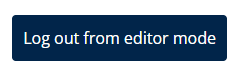
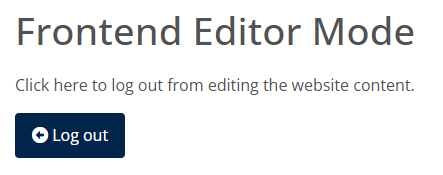
Log out of the website
- Make sure you have saved any changes and click 'Save' or 'Cancel' within the editor.
- Navigate to the login page /login
- Click the Log Out button
Please note:
* Unlike with static page edits, Sub Banner changes do not have version history therefore any deletions or mistakes cannot be undone.